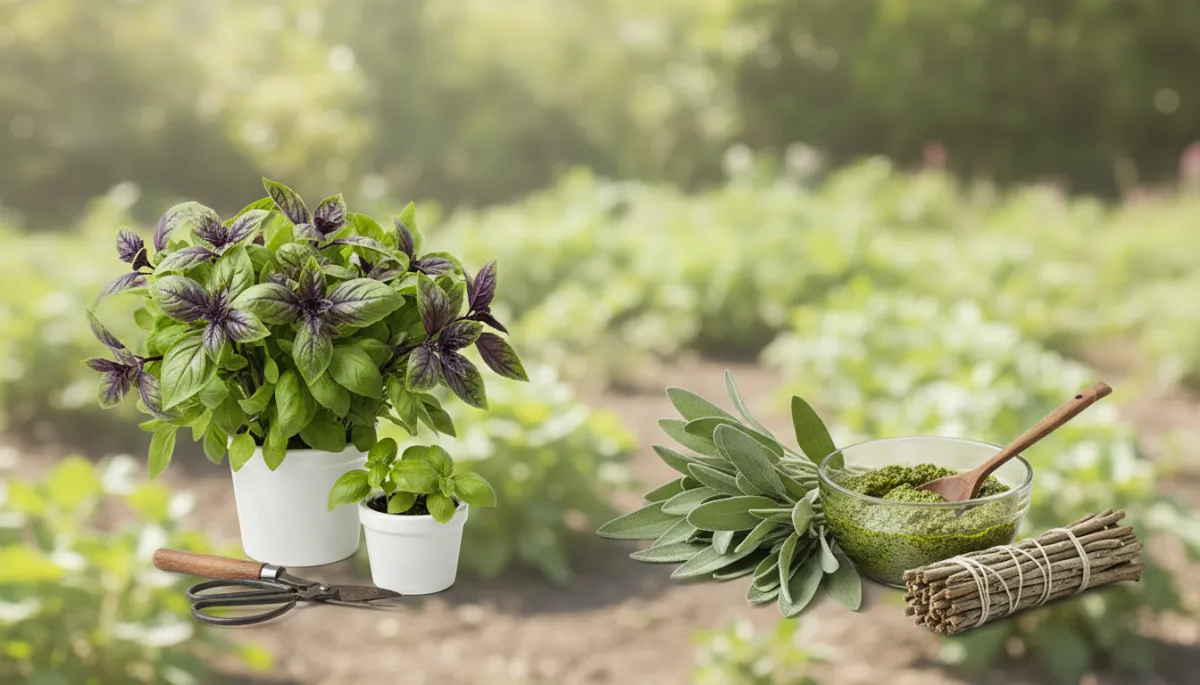
Thinning Herbs: Preparing for Thanksgiving Dinner
Gardening, Herbs, Home Cooking
Drying Fresh Herbs Today: Preparing for Thanksgiving Dinner
I'm drying fresh herbs today. It's one of my favorite things to do because it makes my house smell amazing! Today, I'm working with one of my favorites... sage. 🌿
Keeping your plants trimmed will boost plant health—and give you fresh, right-out-of-the-garden flavor all winter long, provided that you preserve them well.
Harvesting and Preparing the Sage
We have had so much rain in Kentucky this month. This is unusual for us, as July is generally pretty dry. It's been wonderful for all of my plants. My sage plant, especially, has gone absolutely wild! This plant is three years old and well established, and this has been its best year.
To prepare the sage, I just clip it fresh from the vine with pruning shears or scissors. I clip stems just above a pair of leaves - this is step one. My goal at this point is to give the plant a good, healthy trim and encourage new growth. Once I have all my trimmings, I shake off any dirt or insects, then I'll take the stems inside (in my air-conditioned kitchen 😊) for the next step.
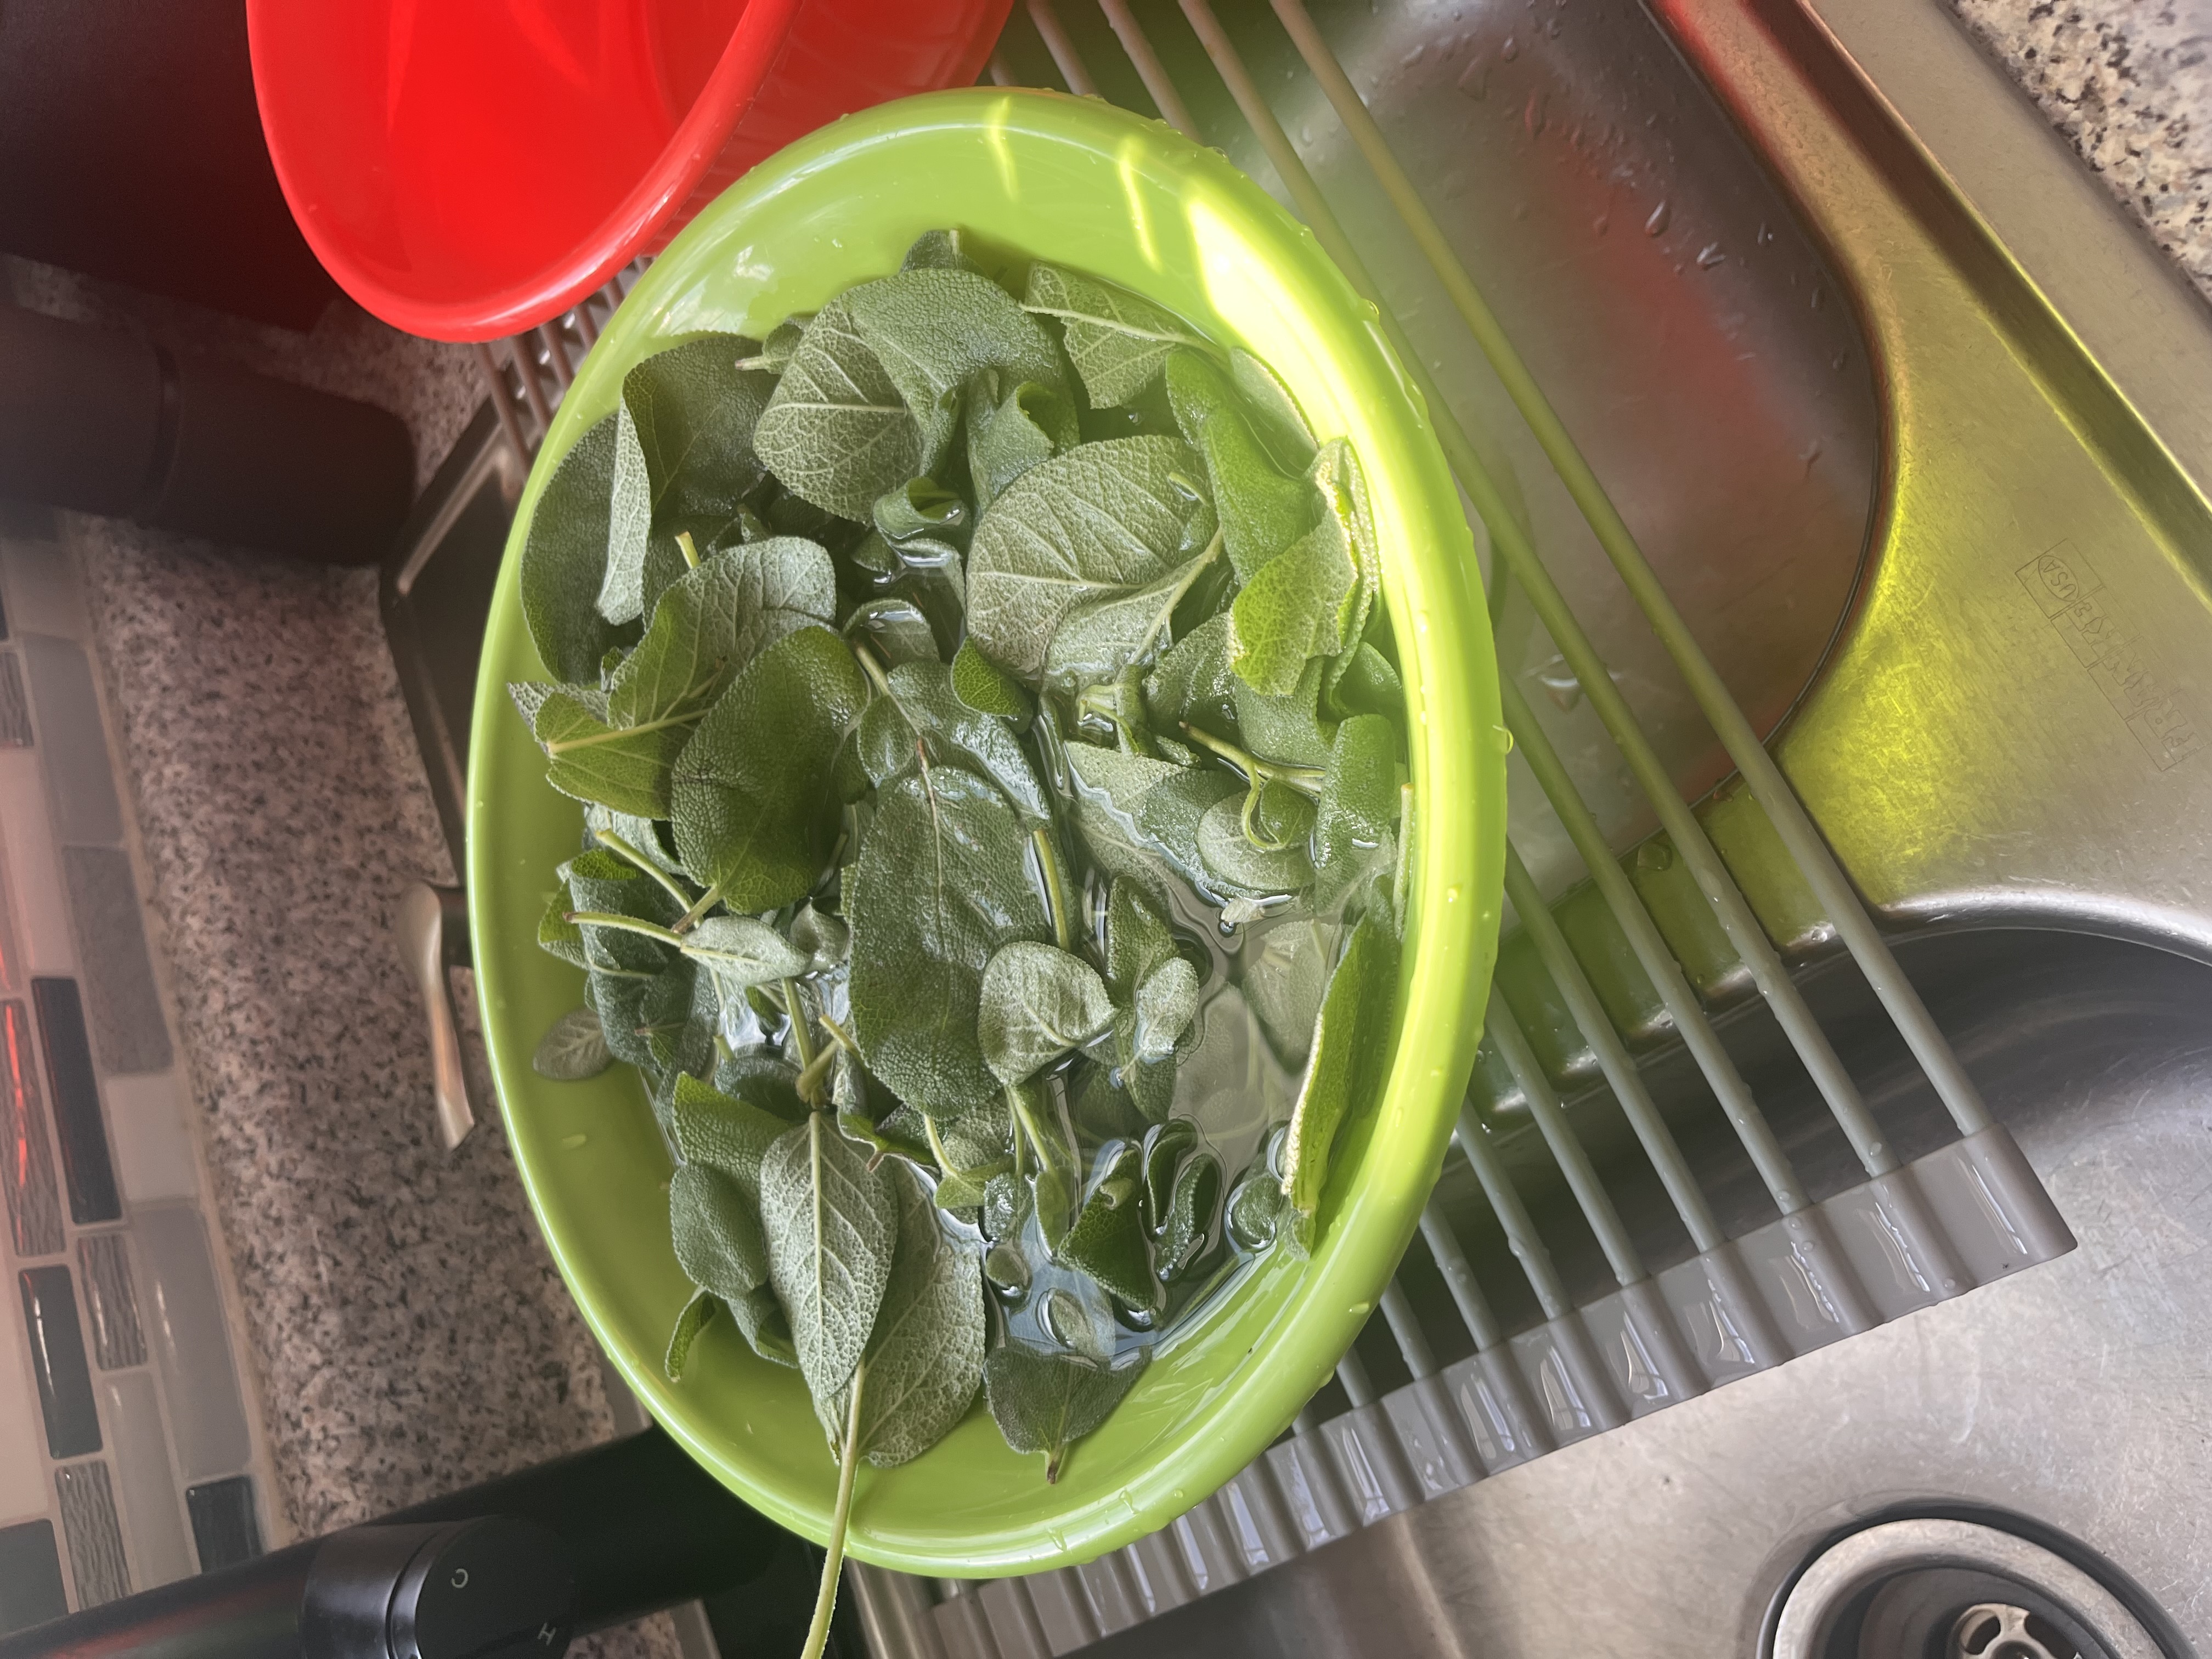
When you grow herbs organically, many will advise against washing, but even though I know mine are grown organically and free of pesticides, I'm still a bit of a fanatic about possible bugs or bug droppings. Yuck!... so I wash mine. I pull the leaves off the stems, dispose of the stems, and then submerge the leaves. The first wash is a bath of vinegar water. I used about 1/3 cup in the bowl in this picture. I soaked it for 20 minutes, then drained and rinsed twice with clean water.
Drying the Sage
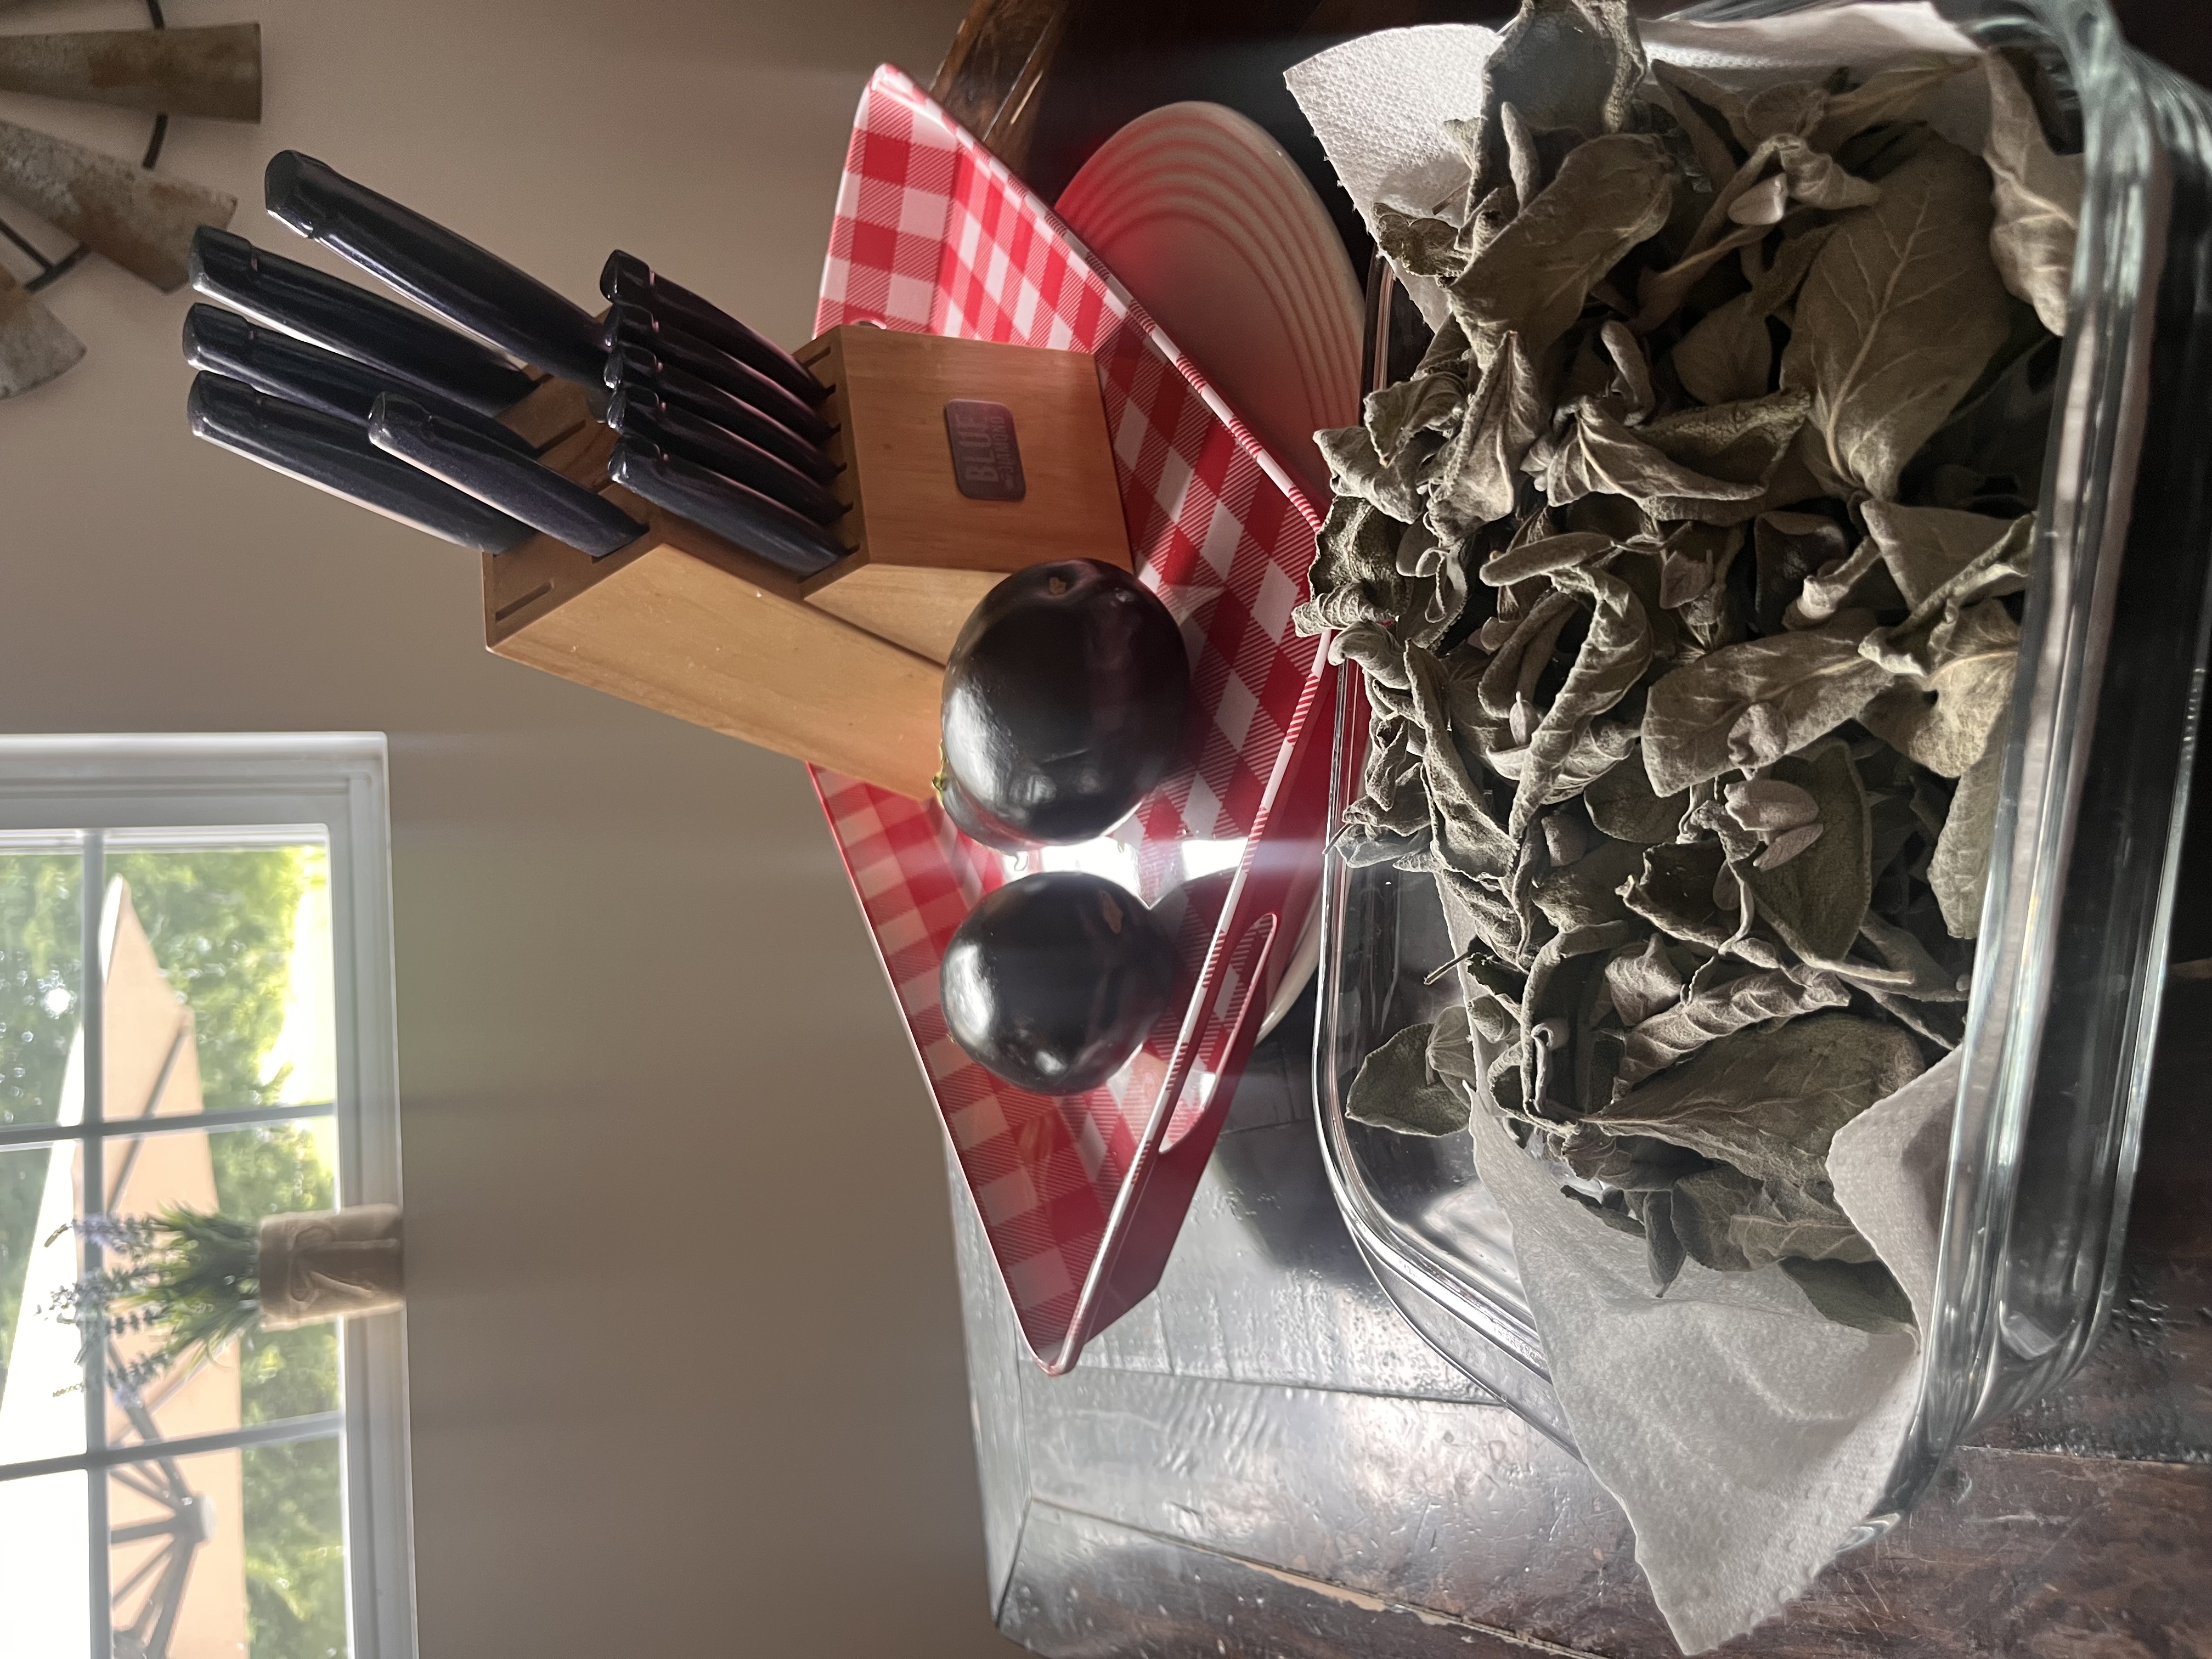
Once I've thoroughly drained the sage, I lay it out in a single layer on paper towels and pat it dry. I'll leave it on the counter to air-dry for 2-3 hours before loading it into my dehydrator.
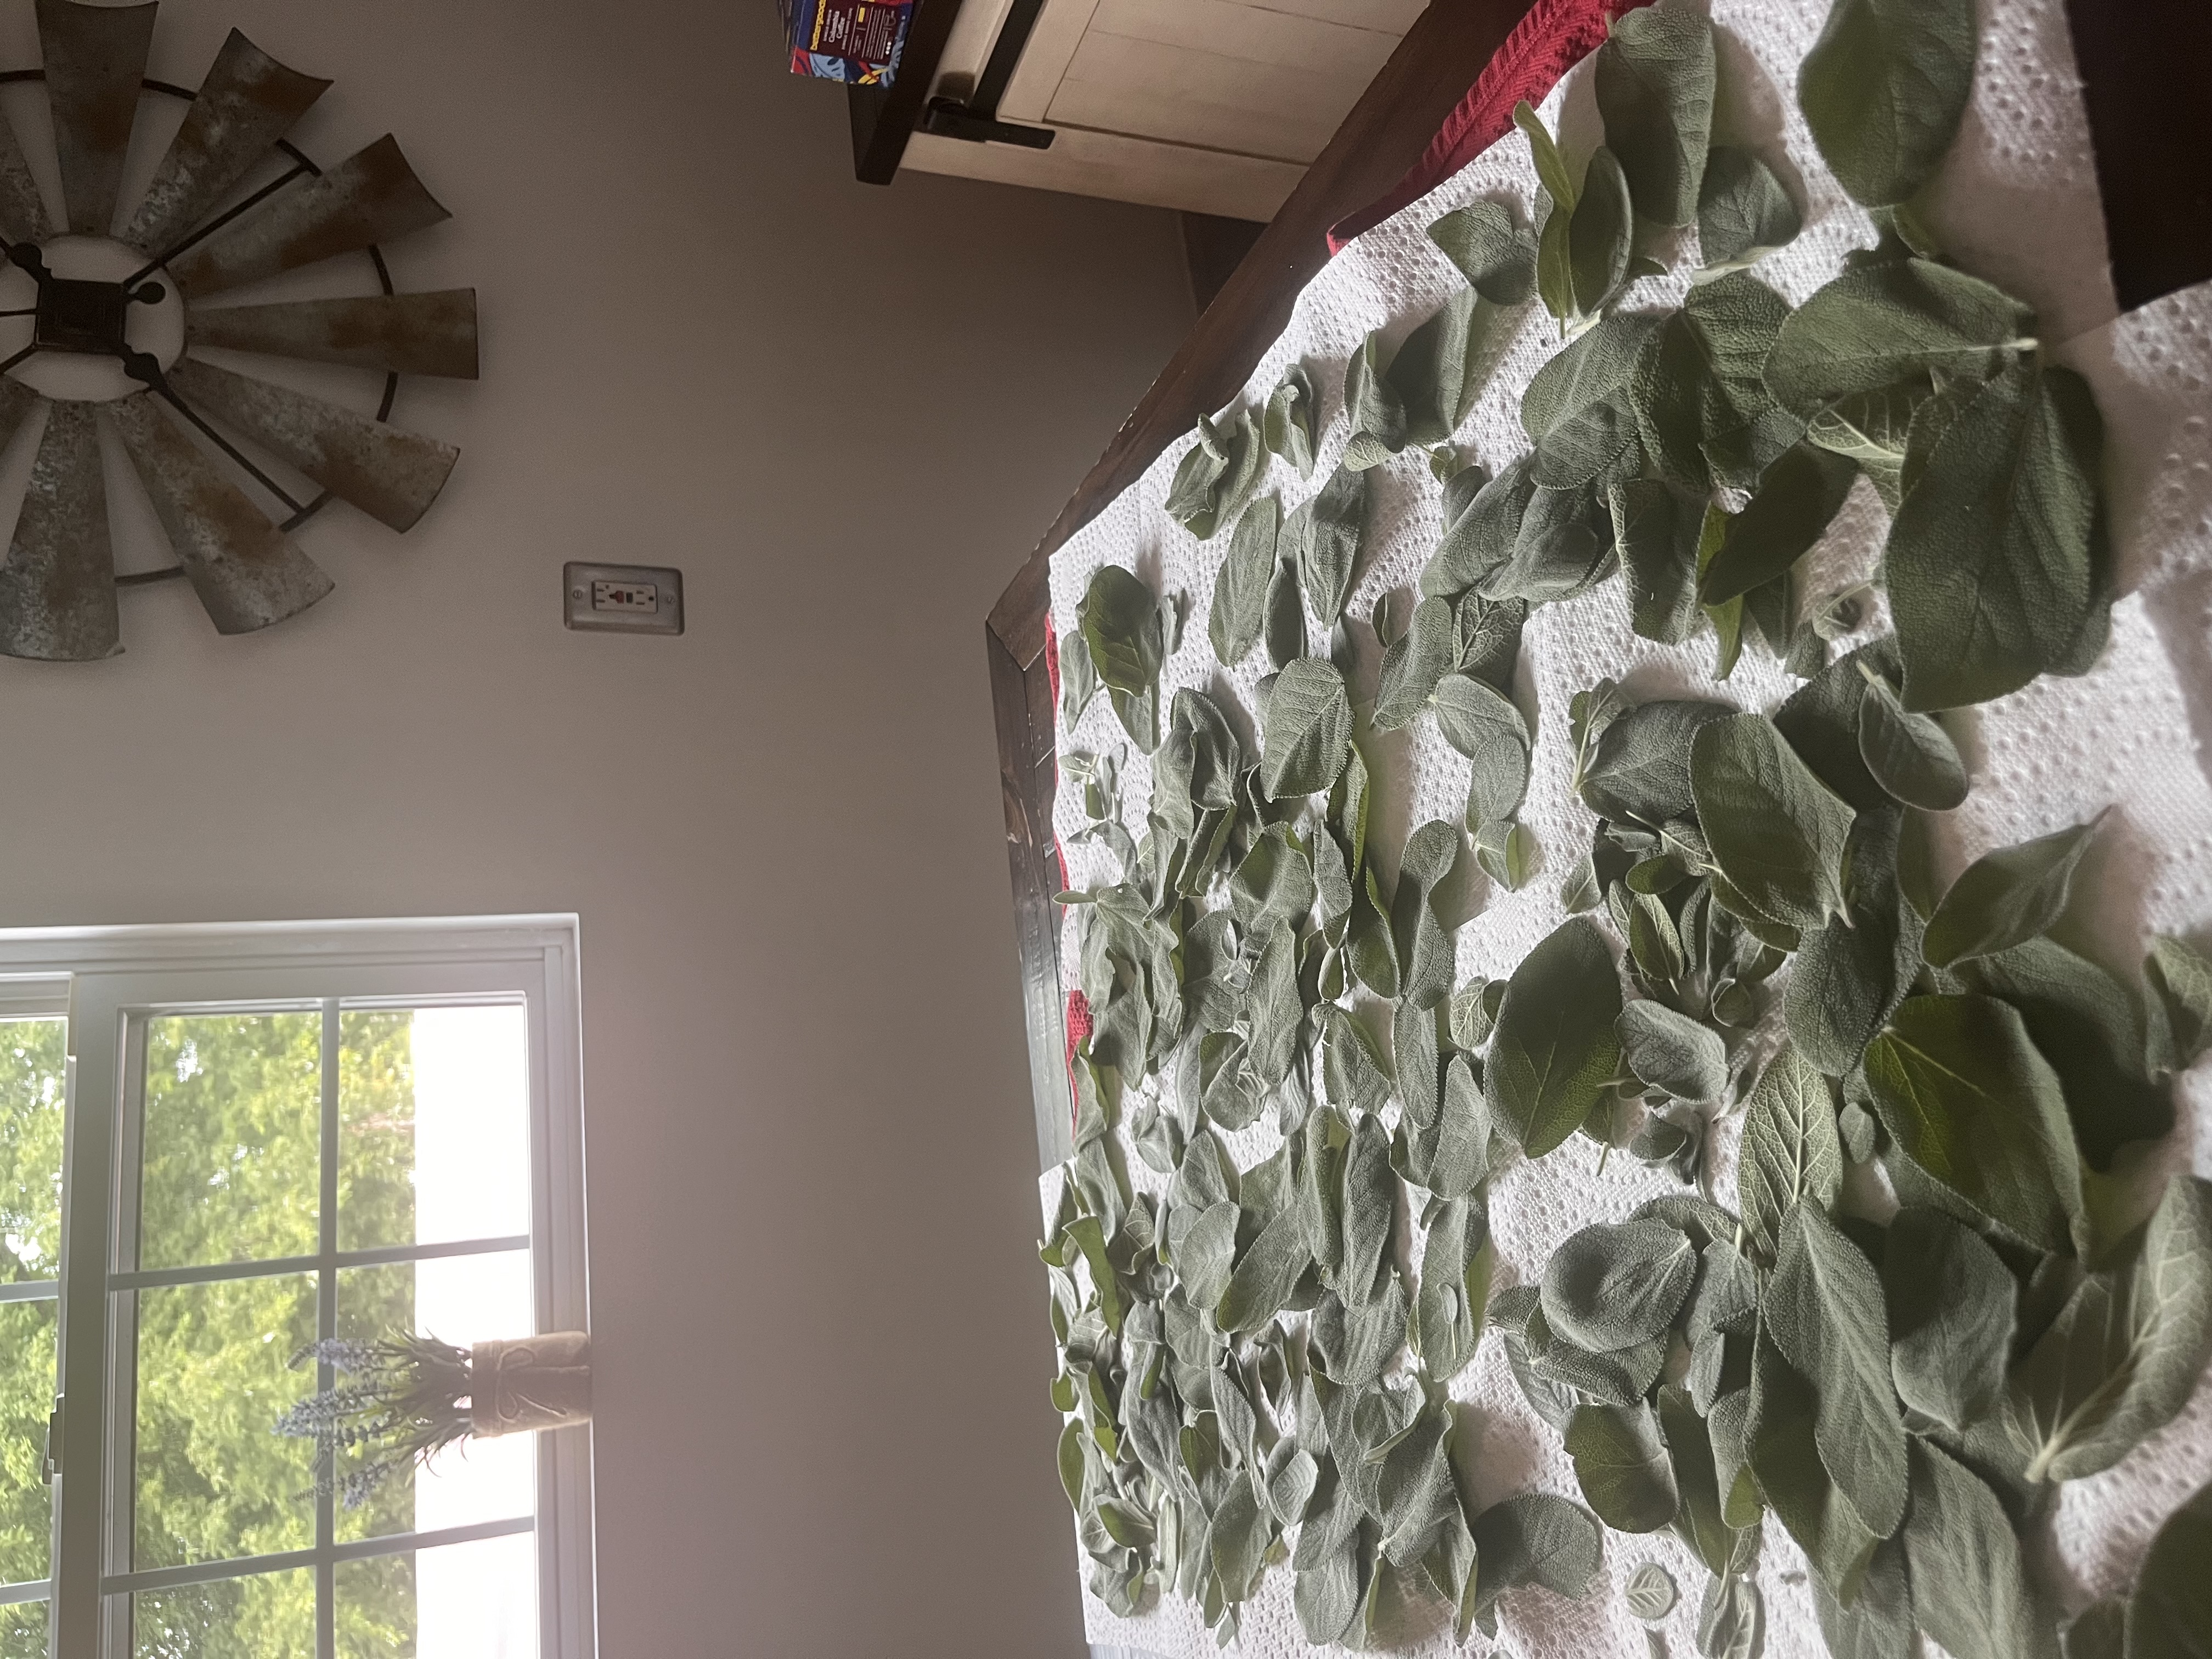
Dehydrating
My dehydrator is a Nesco 5-tray model that I've had for five years. It's not a high-end model, but it works well for my purposes. I load the trays evenly and sparingly, leaving room for airflow and even drying. I dry sage on the lowest temperature setting to preserve all the flavor. I'll then run the dehydrator until the leaves are completely dry. The time it takes to dry is affected by humidity. This batch took about 36 hours. To test your leaves, they should be dry enough that they crumble a bit when you crush them. If they bend, they are not dry enough.
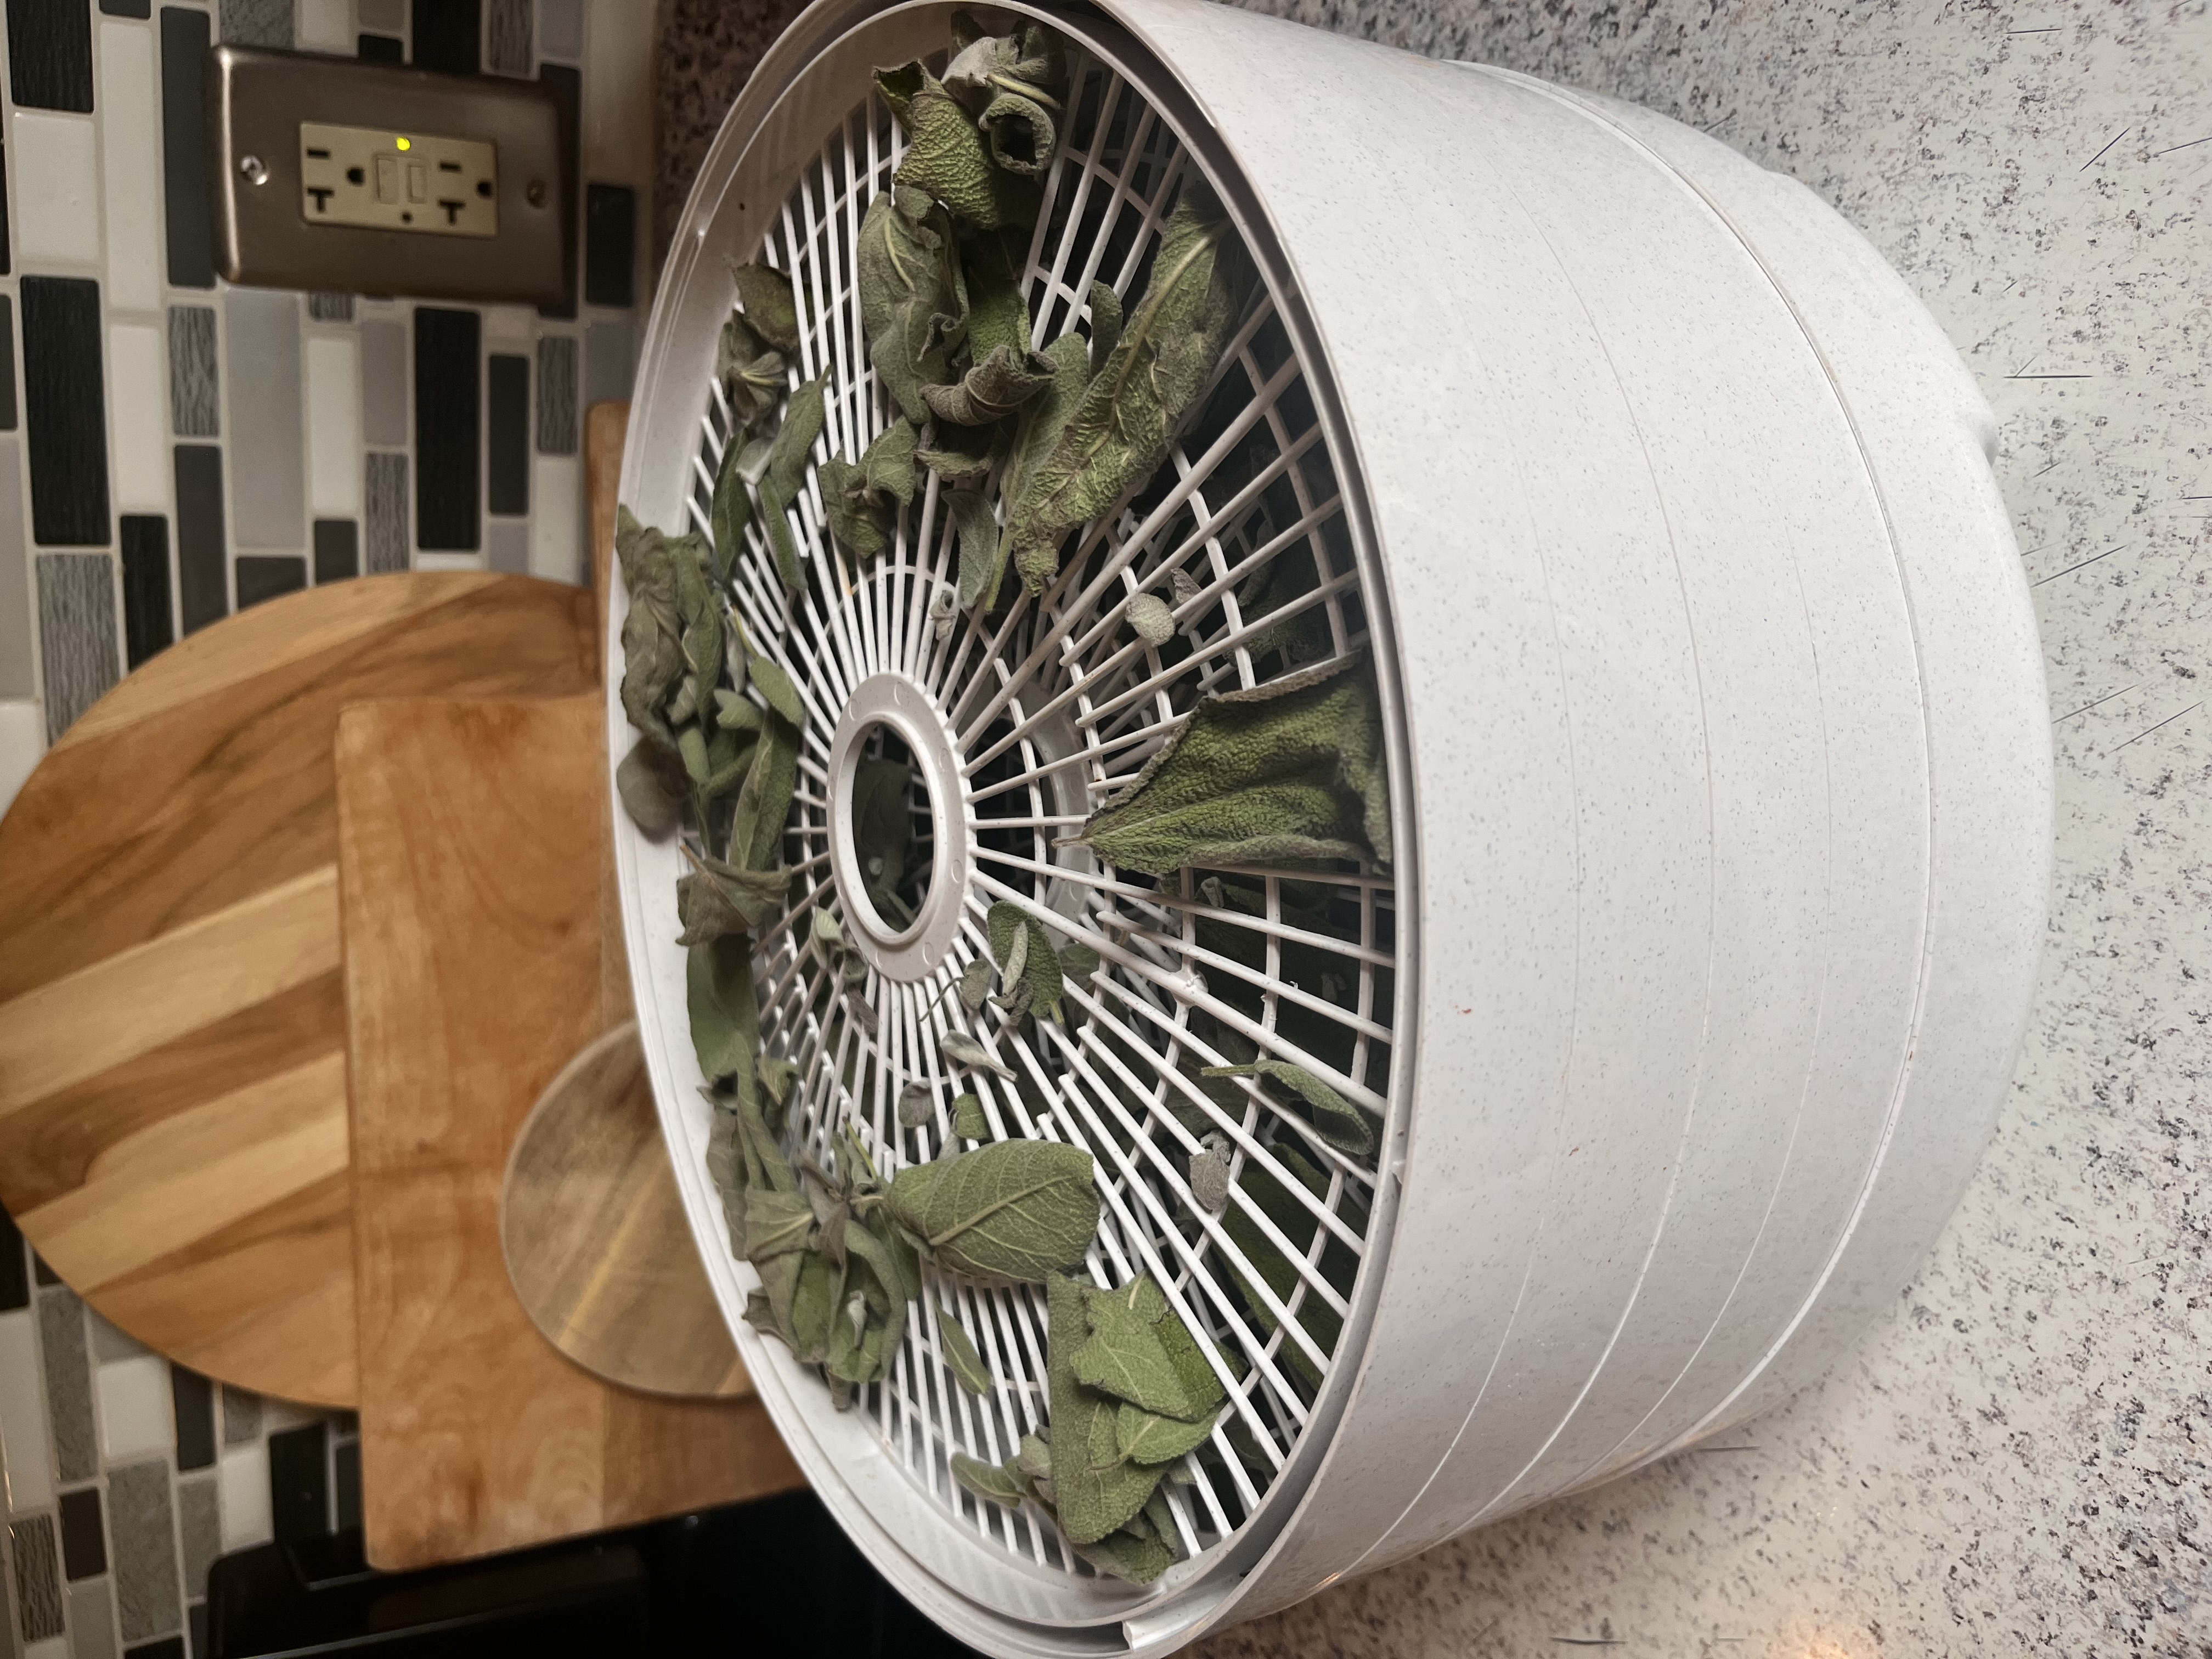
I load each rack sparingly, leaving room for even drying.
Storing the Sage
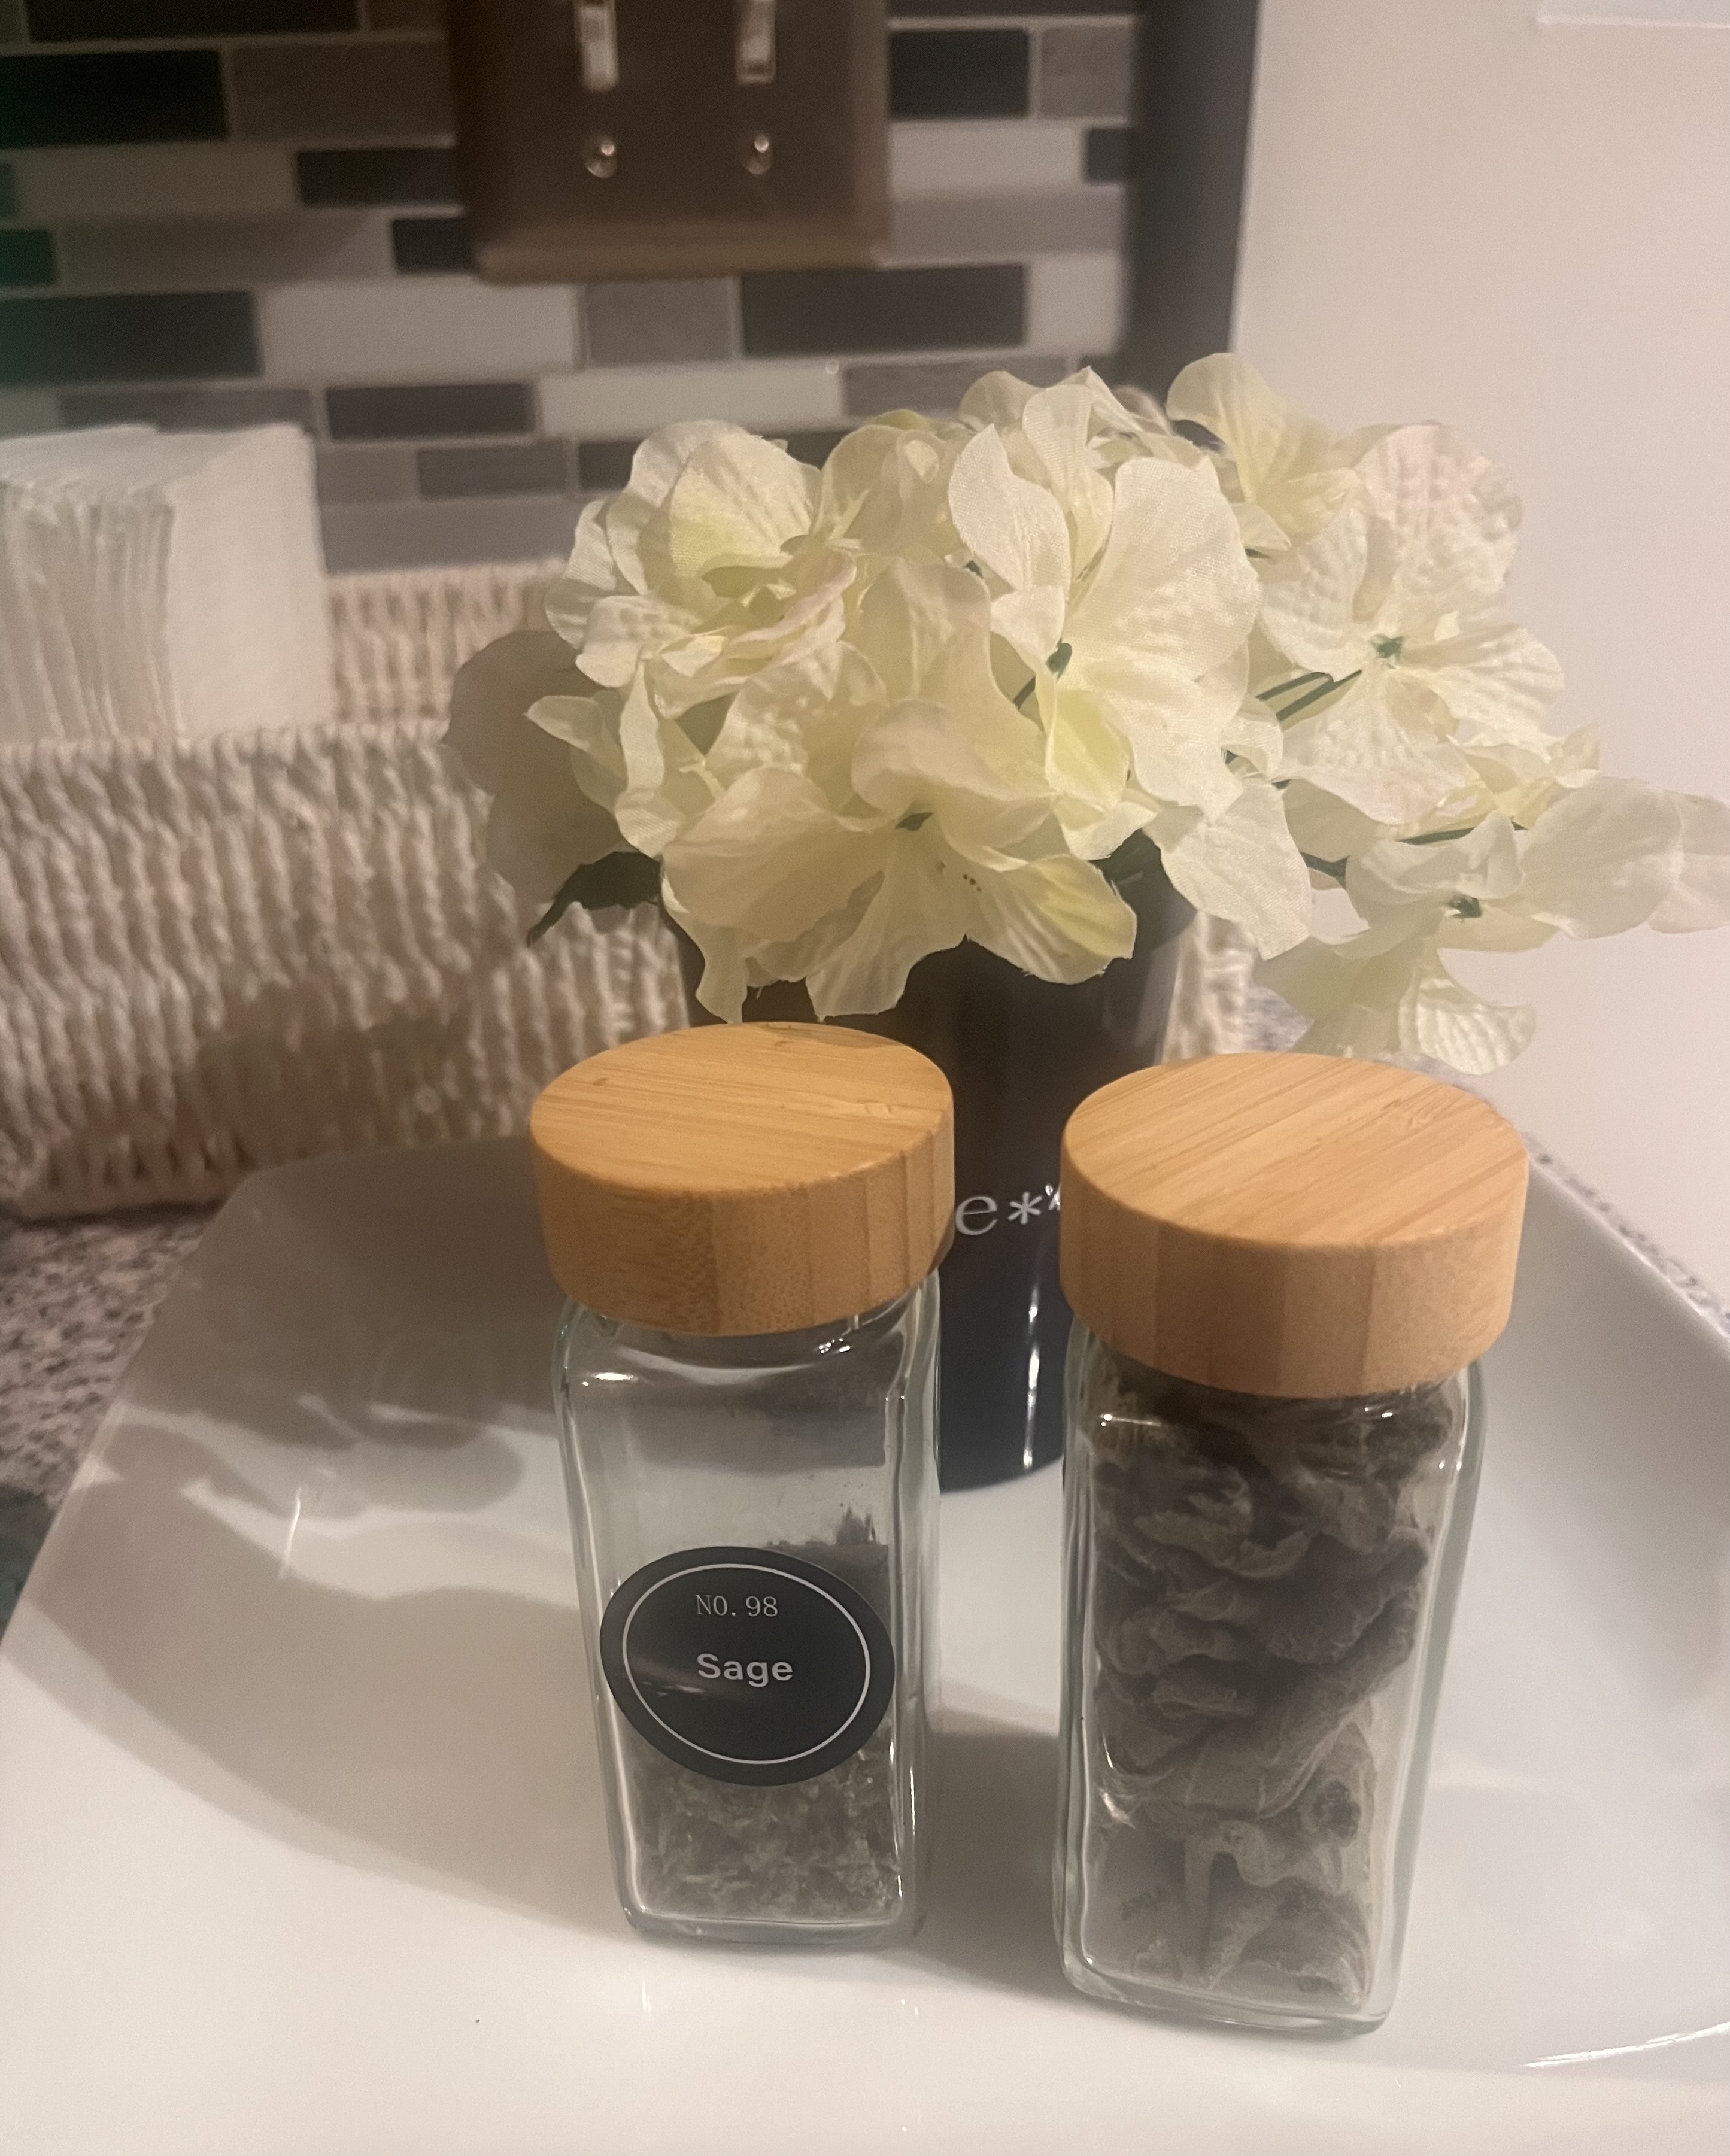
Once the sage leaves are completely dry, they need to be placed into an air-tight container for storage. It is recommended to store the leaves whole rather than crushing them to preserve the most flavor, but I've admittedly done it both ways depending on how soon I plan to use. Properly stored, the sage will keep its best flavor for about 1 year.